Setting Up and Managing Approval Workflows
Need to add a layer of oversight to your business processes? Our Approval Workflow feature allows administrators to build sequential approval steps for any Activity Type.
Once configured, activities will automatically route from one approver to the next, keeping your team aligned and your data accurate without the manual follow-up.
How to Configure an Approval Workflow
⚠️ Prerequisite: You must have Approval Workflow permissions enabled on your Role to access these settings. If unsure, contact Support.
To set up an approval workflow, follow these steps:
As a TA Admins
- Go to the Activity Type and Manage Available Fields
- Add the Approvers field
- In the View layout, add Approvers
As an Admin
- Go to the Site Settings > Status.
- Select the Activity Type to add the Approval flow to. Here you will see a list of existing statuses.
- Select the first Status to add Approvers to
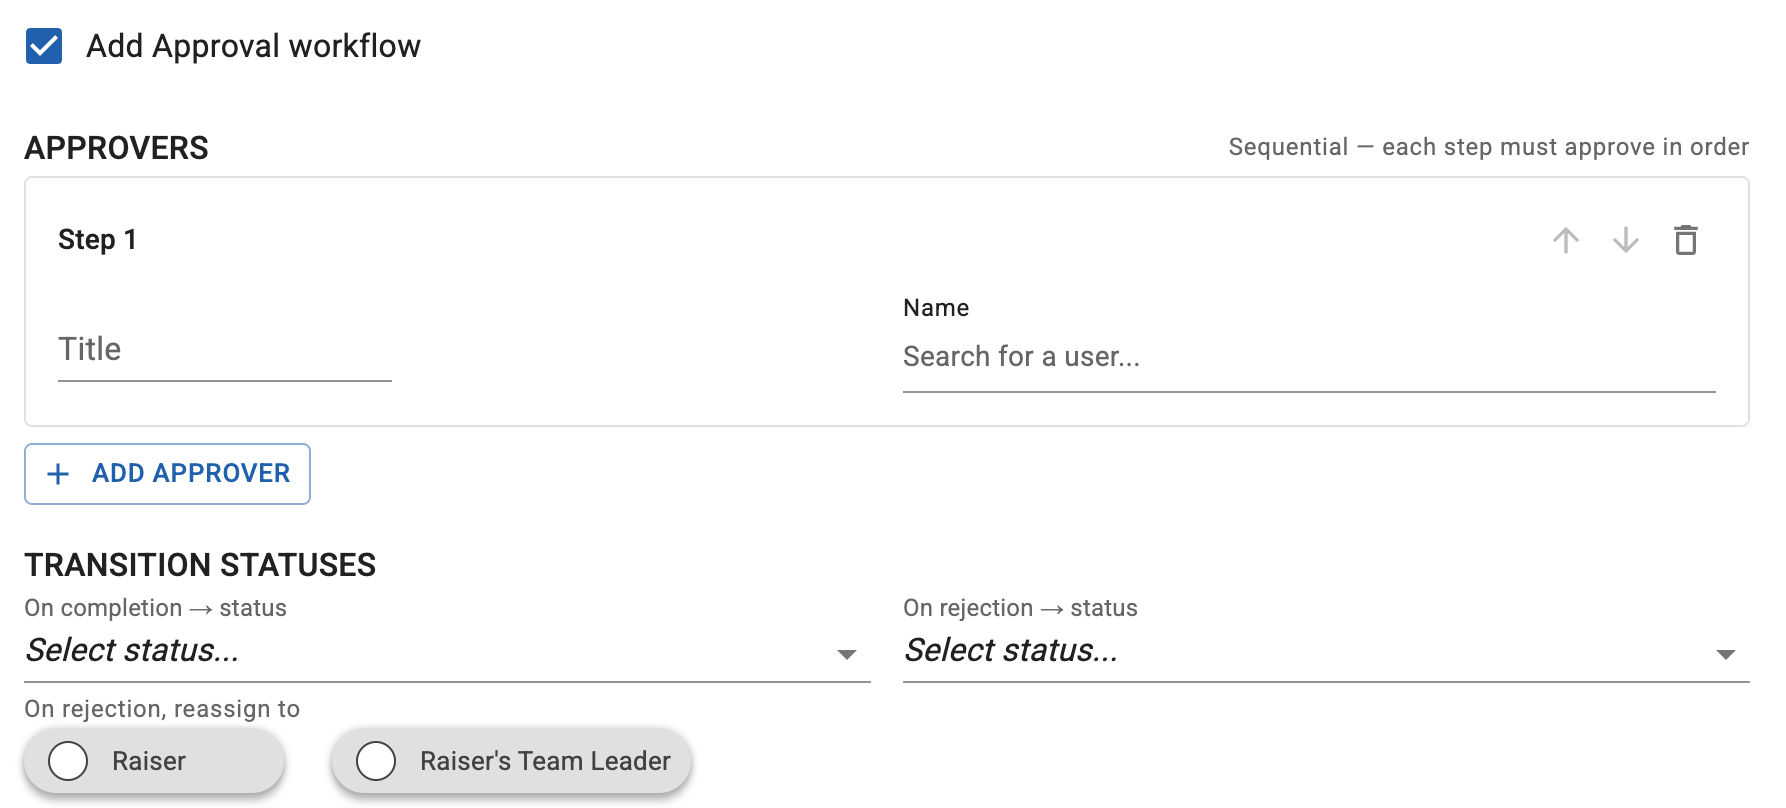
- Check the box labeled "Add Approval Workflow". This will expand the workflow configuration panel.
-
Define Approvers and Transitions
For each status step, configure the following parameters:
-
Add Approver(s): Select the users who need to sign off.
Approved Status: Choose which status the activity transitions to once approved.
Rejected Status & Reassignment: Choose where the activity goes if rejected. You must configure it to be assigned back to either:
- a) The person who originally raised the activity, or
- b) The Raiser's Team Leader.
Critical Setup Rule: Approvals are Sequential
When adding multiple approvers to a single status, the order you add them matters. The workflow operates sequentially:
- Approver 1 must approve the activity first.
- Once Approver 1 approves, the system automatically assigns the activity to Approver 2 and sends them a notification.
- This chain continues until the final approval triggers the status transition.
Visualizing the Flow
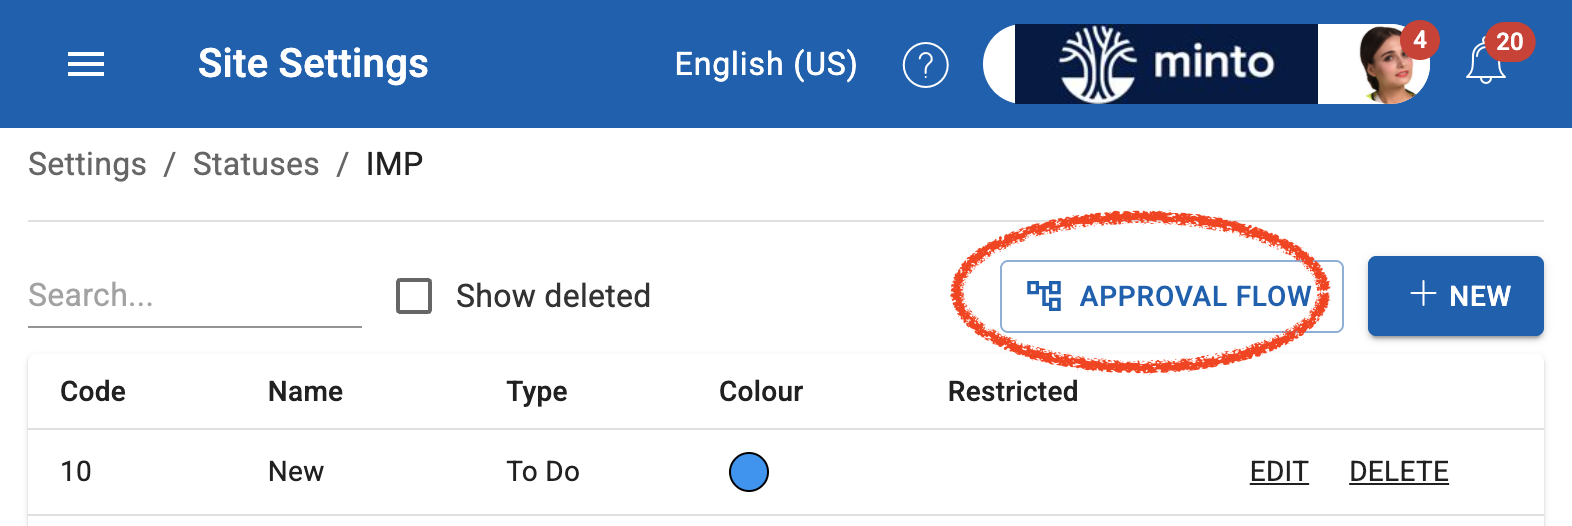
While each individual step is configured per status, you can see the big picture easily. Head back to the Status List page to view a visual process flow diagram of your entire end-to-end Approval Flow.
How it Works in BAU (Business as Usual)
Once configured, the workflow handles the heavy lifting automatically during daily operations.
For the Person Raising the Activity
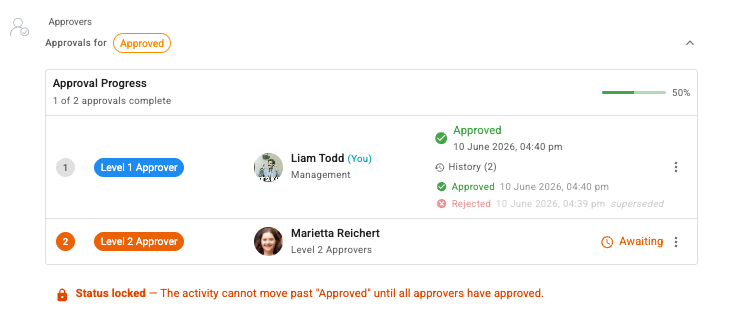
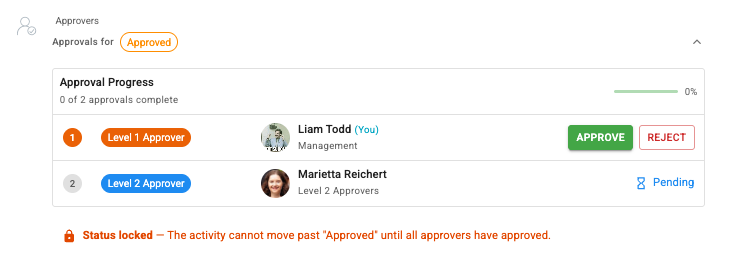
When a user raises an activity that requires sign-off, a visual approval timeline is permanently displayed right on the activity page. As the activity moves through the chain, a visual indicator updates against each step, showing exactly who has approved it and who is up next.
For the Assigned Approver
If you are the next person in line to approve an activity:
- You will receive an automated notification alerting you that action is required.
- When you open the activity, you—and only you—will see the APPROVE / REJECT buttons active for your specific step in the workflow.
On rejection, users can choose to add a comment.
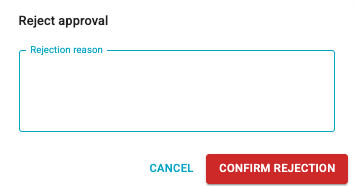
History is automatically recorded for approvals and rejections, both in the approvals field, and also the regular change history for the activity.